
Although makeup brushes represent a part of our everyday makeup routine, most of us never clean our makeup brushes properly. Or wonder how to dry brushes the right way.
I haven’t. Have you? I bet not. You probably use the same “technique” including washing, squeezing the water out with a clean towel and throwing them back in the makeup bag.
Or if you feel bored and have the patience and time, you lay them on a towel and wait for them to dry. Does it sound familiar? You probably assume they’re not so important to pay extra attention to, but you’re wrong. Just like I was. Apparently, if you don’t clean and dry your makeup brushes properly, there are some serious consequences.
Is it important to clean and dry makeup brushes properly and why?
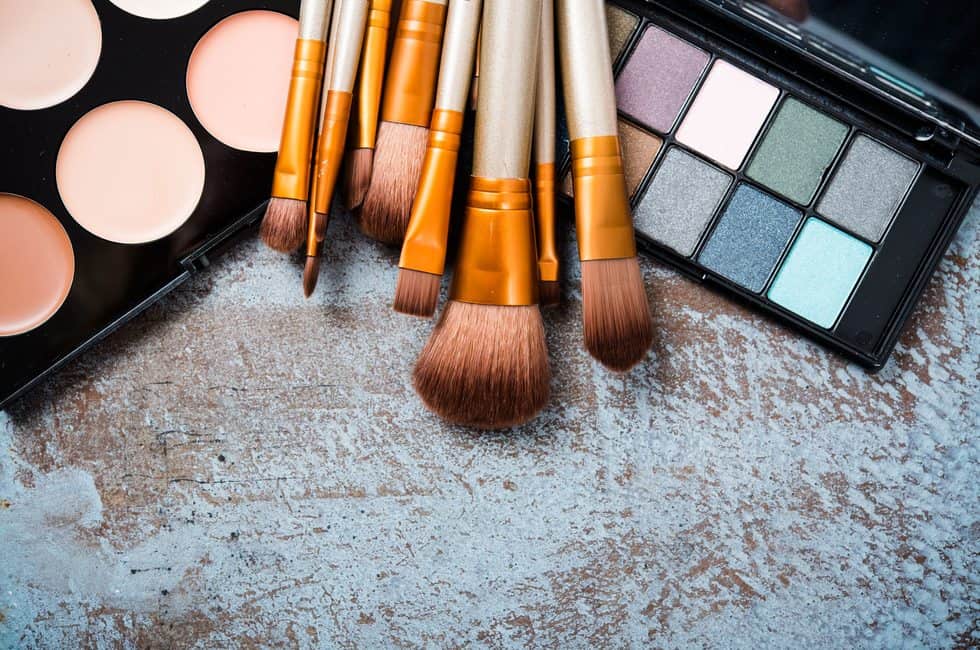
Before I tell you why it’s important to clean and dry your makeup brushes properly, let’s do an inspection of anatomy in the brushes. They’re consisting of 3 main parts.
The handle, the ferrule, and the bristles. The ferrule represents the metal part that handles the bristles and attaches to the handle. The bristles stand firm in the ferrule with a help of glue. So, when washing the brushes, water might enter the ferrule. And if you dry the brushes with the bristles up (the wrong way), it might go even deeper.
Now, you probably think that it isn’t much of a big deal. However, if you do this all the time, the water will weaken the clue and your makeup brushes will fall apart, eventually.
The most important thing is to prevent water from staying too long inside the brush. And this is where proper drying kicks in. So, now you know the reason. If you clean and dry your brushes right, they will definitely last longer. And won’t develop any bacteria.
If you use makeup every day, you know that a makeup brush can either make or break your appearance. You can end up looking like a clown. Or you can end up looking perfect.
It all depends on the brushes you’re using and the condition that they’re in. So, in order to prevent your brushes from falling apart or develop some bacteria that might ruin your face, apply this simple step-by-step guide on how to clean and dry them properly.
How to clean my makeup brushes properly?
I have a few steps that you need to follow to do this right. They’re not complicated and a lot of people follow the same steps to keep their makeup brushes properly maintained.
Step 1: Wash your brushes with warm water and soap. Or a makeup brush cleanser if you have and gently massage the bristles with your fingers until the makeup falls out.
Step 2: Use a clean towel to squeeze the water out of the brushes gently. The easiest way to do this is to lay the brushes on a towel and press them gently. Wrap the brushes into the towel in order to absorb the extra water. Don’t rush the process but dedicate 5 to 6 seconds to each brush in order to do it properly and get the whole water out.
Step 3: Put the brushes on the counter edge to prevent them to acquire bacteria and dry faster. This way, you allow the air to circulate through the bristles, something you cannot get if you leave them on a damp surface. During this step, you can use your fan to help your brushes dry faster by circulating the air and dispersing the moisture.
The drying might that 3 to 4 hours for the brushes if you want them to be completely dry. If you want to speed up the process, I have a hack for you to try. But first, allow me to tell you what to AVOID when drying your makeup brushes before you ruin them.
NOT to do: Dry your brushes in a cup. Many people do this but this “technique” will get the water inside the brushes and weaken the glue, as I mentioned before. It will ruin your brushes over time and get bristles to fall out of your favorite makeup brushes.
Give your brushes a few hours to dry before using again. And don’t forget to check their condition with your fingers before you put them back to your makeup bag.
You can wash your brushes before you go to bed and let them dry during the night.
Is there a better way to dry my makeup brushes?
If you’re bored of the towel technique I just mentioned and want to try a better and a faster way to dry your brushes, use a professional makeup brush drying rack that will make your life a whole lot easier.
Now, I mentioned that the best way to prevent water to get inside the brushes is to dry upside down. And the brush drying rack allows you to do this without much effort.
More: How to Clean Flat Iron
It’s because it’s specifically made to hold your brushes in the right position and allow them to dry easily. You can buy some of these racks online and pick between different sizes and designs. It all depends on your taste and the number of brushes you own.
The rack contains holes on the surface that have adaptable rubber inserts that allow your brushes to stand firmly and dry completely. They’re compact and easy to use. But if you don’t want to spend money on makeup brush drying rack (they’re not expensive) you can always improvise with hair bands, coat hangers, and chairs to dry your brushes.
With drying your brushes upside down, you allow the air to circulate around the bristles which helps your brushes dry faster. If you lay your brush on a towel, the one side isn’t getting any air to dry and the water stays too long in the ferrule. This will ruin the glue.
Also, your brushes can get misshaped if you dry them in the wrong position. If they dry upside down, gravity will do its thing and allow your brushes to keep their normal shape.
Don’t forget to place a towel under the makeup brush drying rack if you plan to get one and ease up your life. Or under whatever it is that you’re using to place your brushes in the right position to dry. This will absorb the water falling from the makeup brushes so you won’t have to clean afterward. You can also use a paper towel or some other fabric.
And as I mentioned, leave your brushes to dry for hours. The thicker the brush, the longer it needs to dry completely. If you don’t allow your brushes to dry completely, you’re increasing the chance of developing bacterias that can cause skin rash or acne. As you can see, much depends on how you clean and dry your makeup brushes.
Is it better to let air drying do its thing? Or can I use a blow dryer?
Yes, you can definitely use a blow dryer. But only if you want to damage the bristles. There isn’t a better way to do things than keeping it natural. That’s why I leave it to air drying and prevent my brushes from getting misshaped or destroyed after time. Same goes for sunlight.
I don’t recommend leaving your brushes to dry on direct sunlight. It will damage the bristles and they will eventually fade. What I do recommend, is getting a makeup brush drying rack. Or use this hack that will you will find extremely useful.
Reddit hack for drying brushes that everyone’s going crazy about
If you haven’t heard of this hack, allow me to introduce to you the best hack for drying makeup brushes. Now, I’ve mentioned that you should do it upside down and AVOID fan. I didn’t say you cannot use a fan that circulates cold air and helps you dry the brushes.
More: Beauty Blender vs Makeup Brush
I’ve told you before that not cleaning your brushes will allow dead skin cells to develop bacterias or cause skin rash, so it’s important to clean your makeup brushes every few weeks (once in a week if you have time).
With this simple hack, cleaning your brushes has never been easier. It was posted by a Reddit user “hey I’m Allison” and helped many people to turn this seemingly simple but still complex process into something easy to do.
You apply the tips that I mentioned at the beginning and tie your makeup brushes to a bar with an elastic. After, you place a large fan circulating cold air underneath and wait for the makeup brushes to dry completely and keep their normal shape.
If you don’t want to risk it with the fan, you can just hang the brushes in the upside down position and allow air drying to do its thing. All you need to complete this hack is an elastic and a fan if you want to take the drying to the next level.